IKEA Billy Built-ins: Front Room Reveal

We began our front room project nearly a year ago as part of the spring 2020 One Room Challenge. At the time I was pregnant, and we figured it was a relatively easy 8-week project that we’d have finished before the baby was born. Spoiler alert: It took a lot longer than we anticipated, and once baby Celia was here, we didn’t have time for any home projects at all! So the front room sat unfinished for the better part of the year, and we only made it to week 2 and week 3 of the One Room Challenge. However, not finishing the ORC didn’t stop us from finishing the room! We took our time getting it just right, and it turned out better than we had even hoped.
I have a full post on my goals for the room and our plans to do it, but I’ll do a quick recap here. Our main goal was to turn this room into usable square footage. The room was previously a work space for my dog collar business, and I no longer make dog collars. The room was also not my style; I had designed it as a budget version of a Studio McGee office. I don’t even like the color blue, and the walls were navy! It didn’t flow with the rest of my home. I have since found my own style, and the new design reflects this.
We planned to keep the desk, add DIY built-ins for storage, and add more seating, which would make this a flexible room the whole family can use. I designed the built-ins with arches to play off of the arched cabinet from Magnolia we have in our great room. To start the project, I created a design mock-up in photoshop to show my vision, and then Garret got to work building it!
Project List:
• Custom built-ins made from IKEA Billy bookcases
• Repeat the box moulding above chair rail on left/right walls
• Paint the whole room Cinnamon Sugar by Magnolia
• Spray paint chandelier black
• Source new chairs and styling elements
After

Design Mockup

Before

Can you believe those built-ins are IKEA bookcases?!
You’d never know it without me telling you. Garret did such an amazing job making them look like custom built-ins, which would have cost a fortune. So let’s dive into how he transformed these IKEA Billy bookcases.
Step One: Demo
First, we took off all of the moulding, crown, and baseboard from the wall that would get the built-ins. We had to be extra careful with the crown moulding because we wanted to reuse it and not have to find a replacement piece. This trim puller allowed us to take the crown off without any damage.
Step Two: Building the Bookcases
We assembled one bookcase to test fit our spacing. We had to figure out how many Billy bookcases and how many height extensions we would need for our space. For our 9 foot ceilings, we needed 2 height extensions per bookcase, so a total of four Billy bookcases, and eight height extensions. It took a day just to put all of these together! Garret also made an arch out of cardboard to show me what the arches would look like.
To keep the spacing exactly the same in between bookcases, Garret used 2x4’s cut to the same size on a mitre saw. He used white trim screws to secure the bookcases to each 2x4 block in the existing spot for the shelf inserts for the bookcase. This hid the screw completely.
Step Three: Creating the Arches
For the front face and arches, Garret used 1/2 inch MDF because it was so cheap ($20/sheet). Looking back, he wishes he used a product that was easier to work with, like plywood, although it is double the price. The MDF tended to tear out instead of cut cleanly.
To make the arches, he laid out the spacing on a sheet of MDF and cut two circles out using a router and a circle jig. Once the two holes were cut, he cut the MDF down the center to get a total of four arches. Garret nailed the arches to the bookcases, reattached the crown moulding at the top, and then applied filler and sanded to make everything smooth.
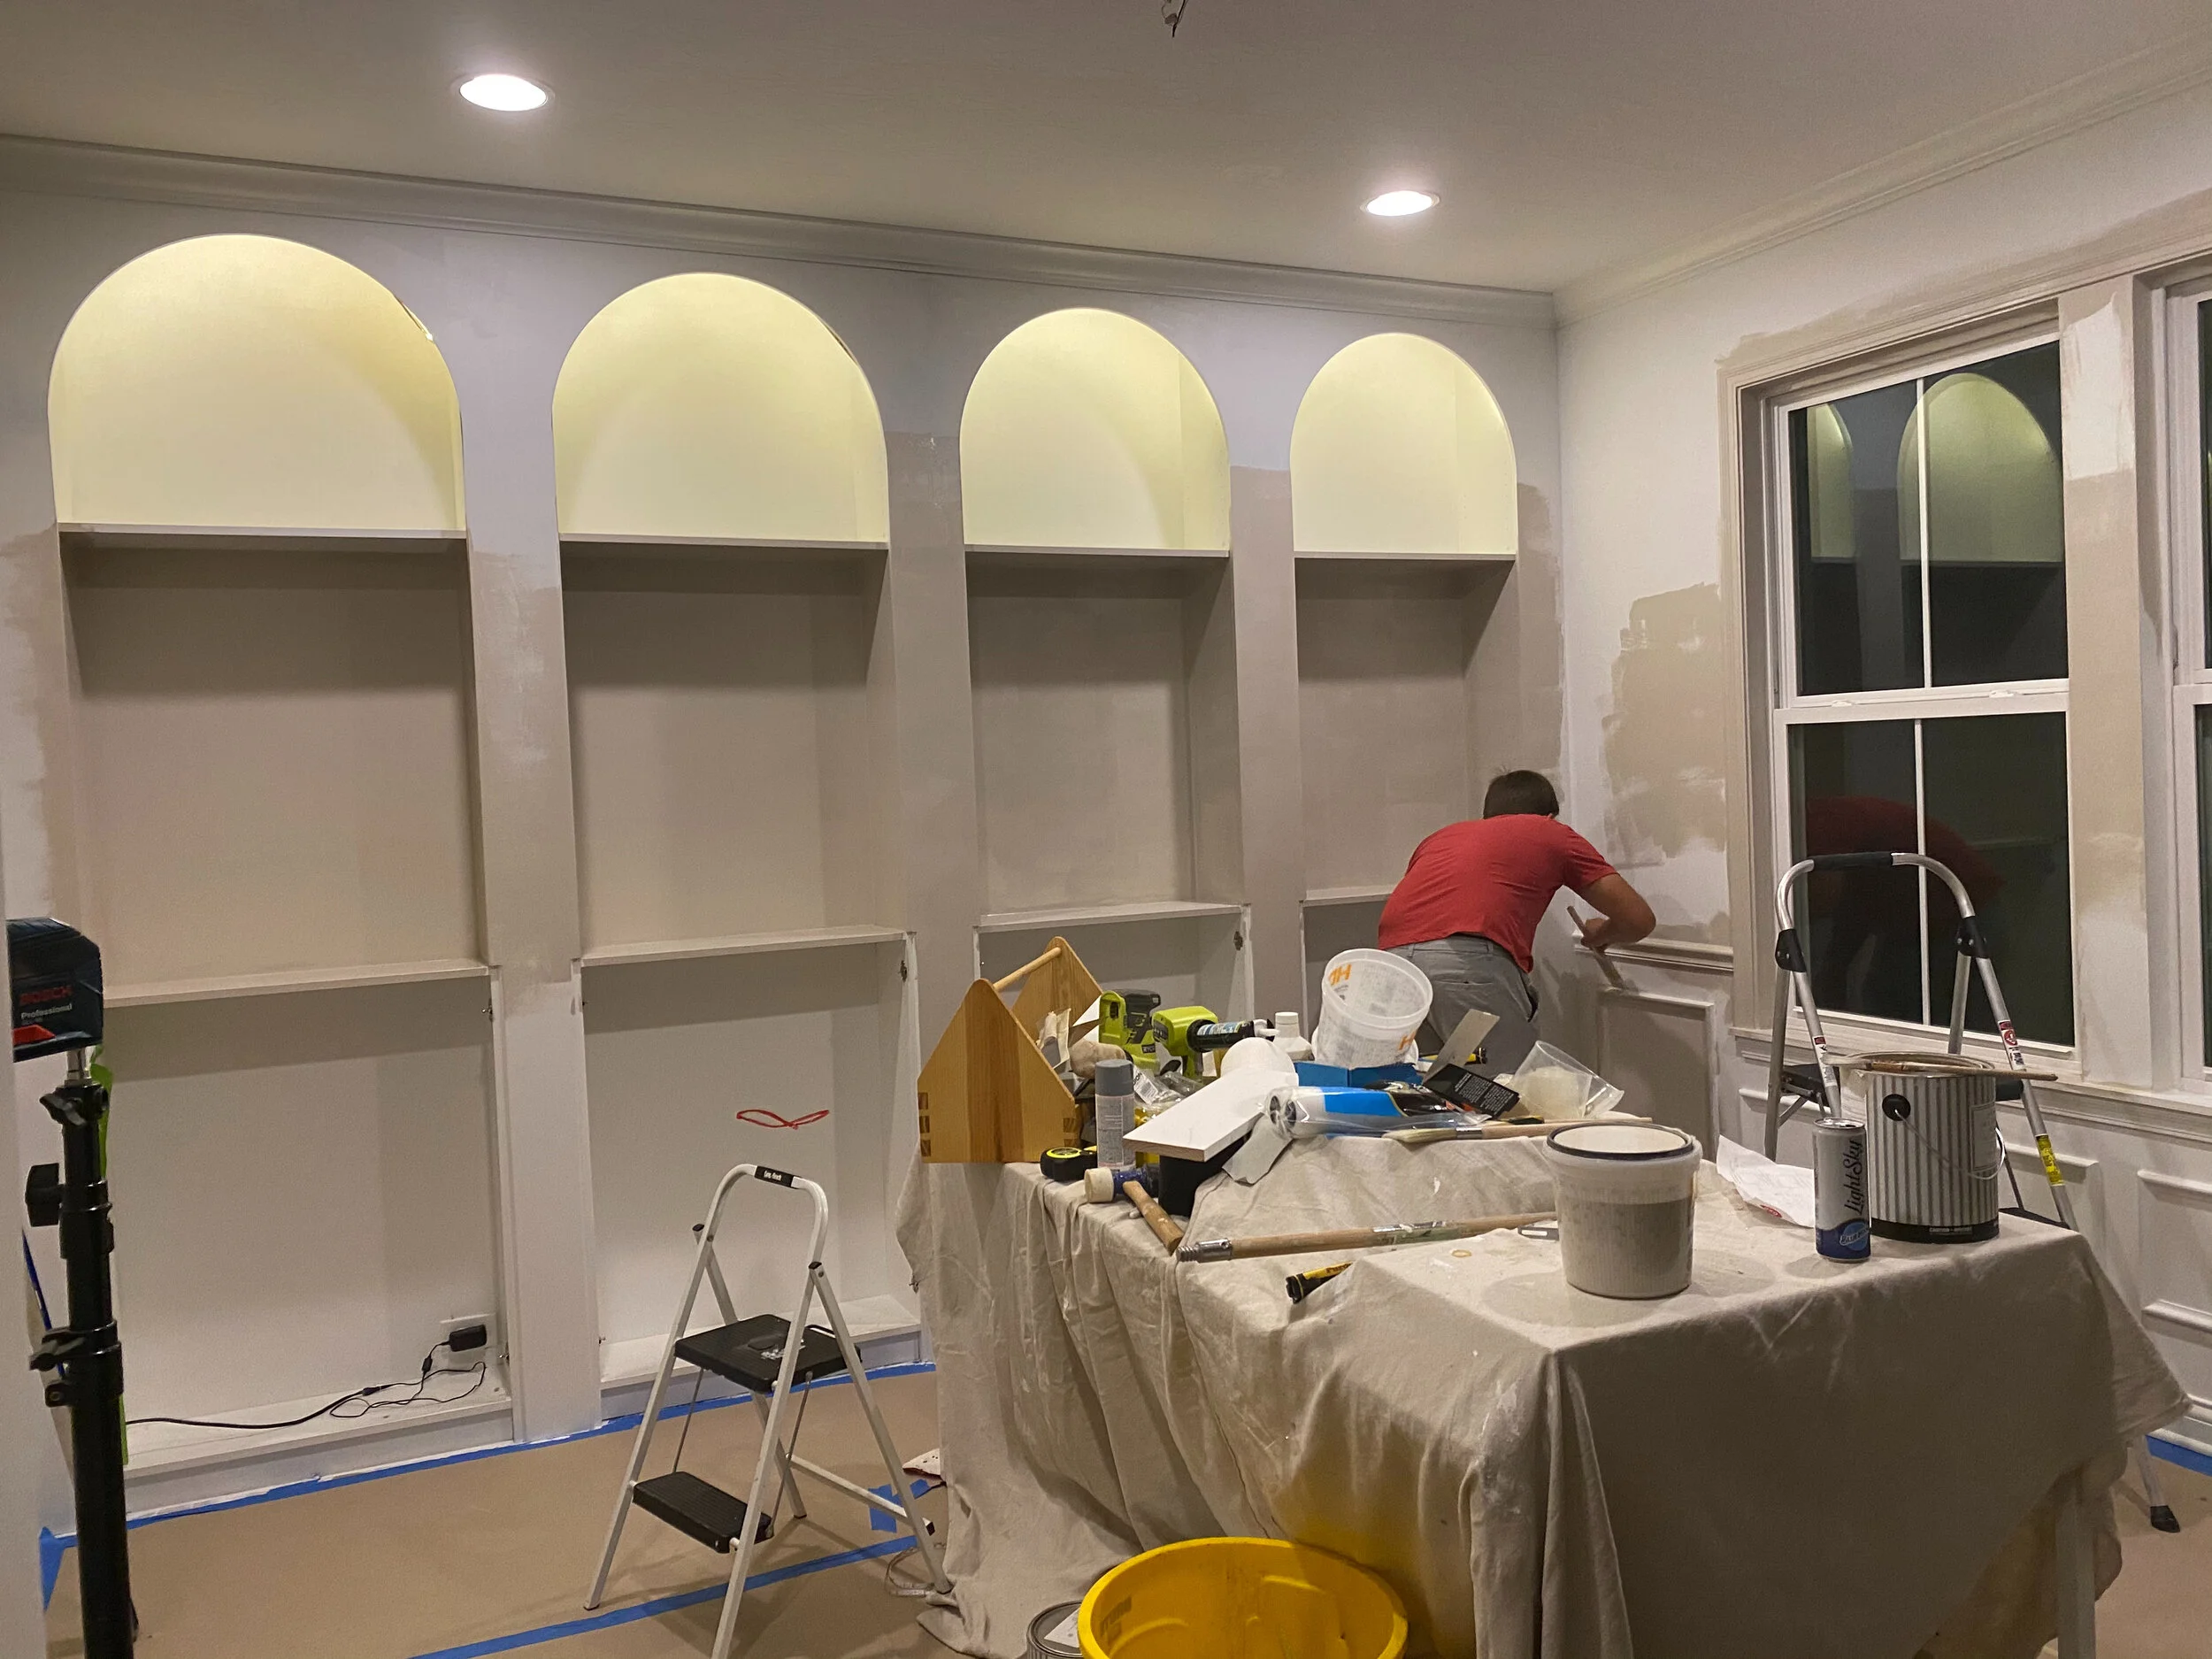
Step Four: Wainscoting
Our house came with chair rail and box moulding in the front room, and I wanted to continue the box moulding on top of the chair rail to add interest to the walls without the built-ins. For the new moulding boxes, we wanted to match the bottom moulding exactly. We figured our local home builder would’ve used something from Lowes or Home Depot, but that wasn’t the case. Luckily, we were able to find our exact match online. The moulding was fairly inexpensive, at $3.78 per 8ft piece, but shipping cost us $170! In the end, it was around $250 for new trim that exactly matched our existing trim. This was definitely an unexpected expense!
Garret measured and made the cuts in our trim pieces, and I glued them together into boxes. He then nailed them to the wall, and we were ready for paint!
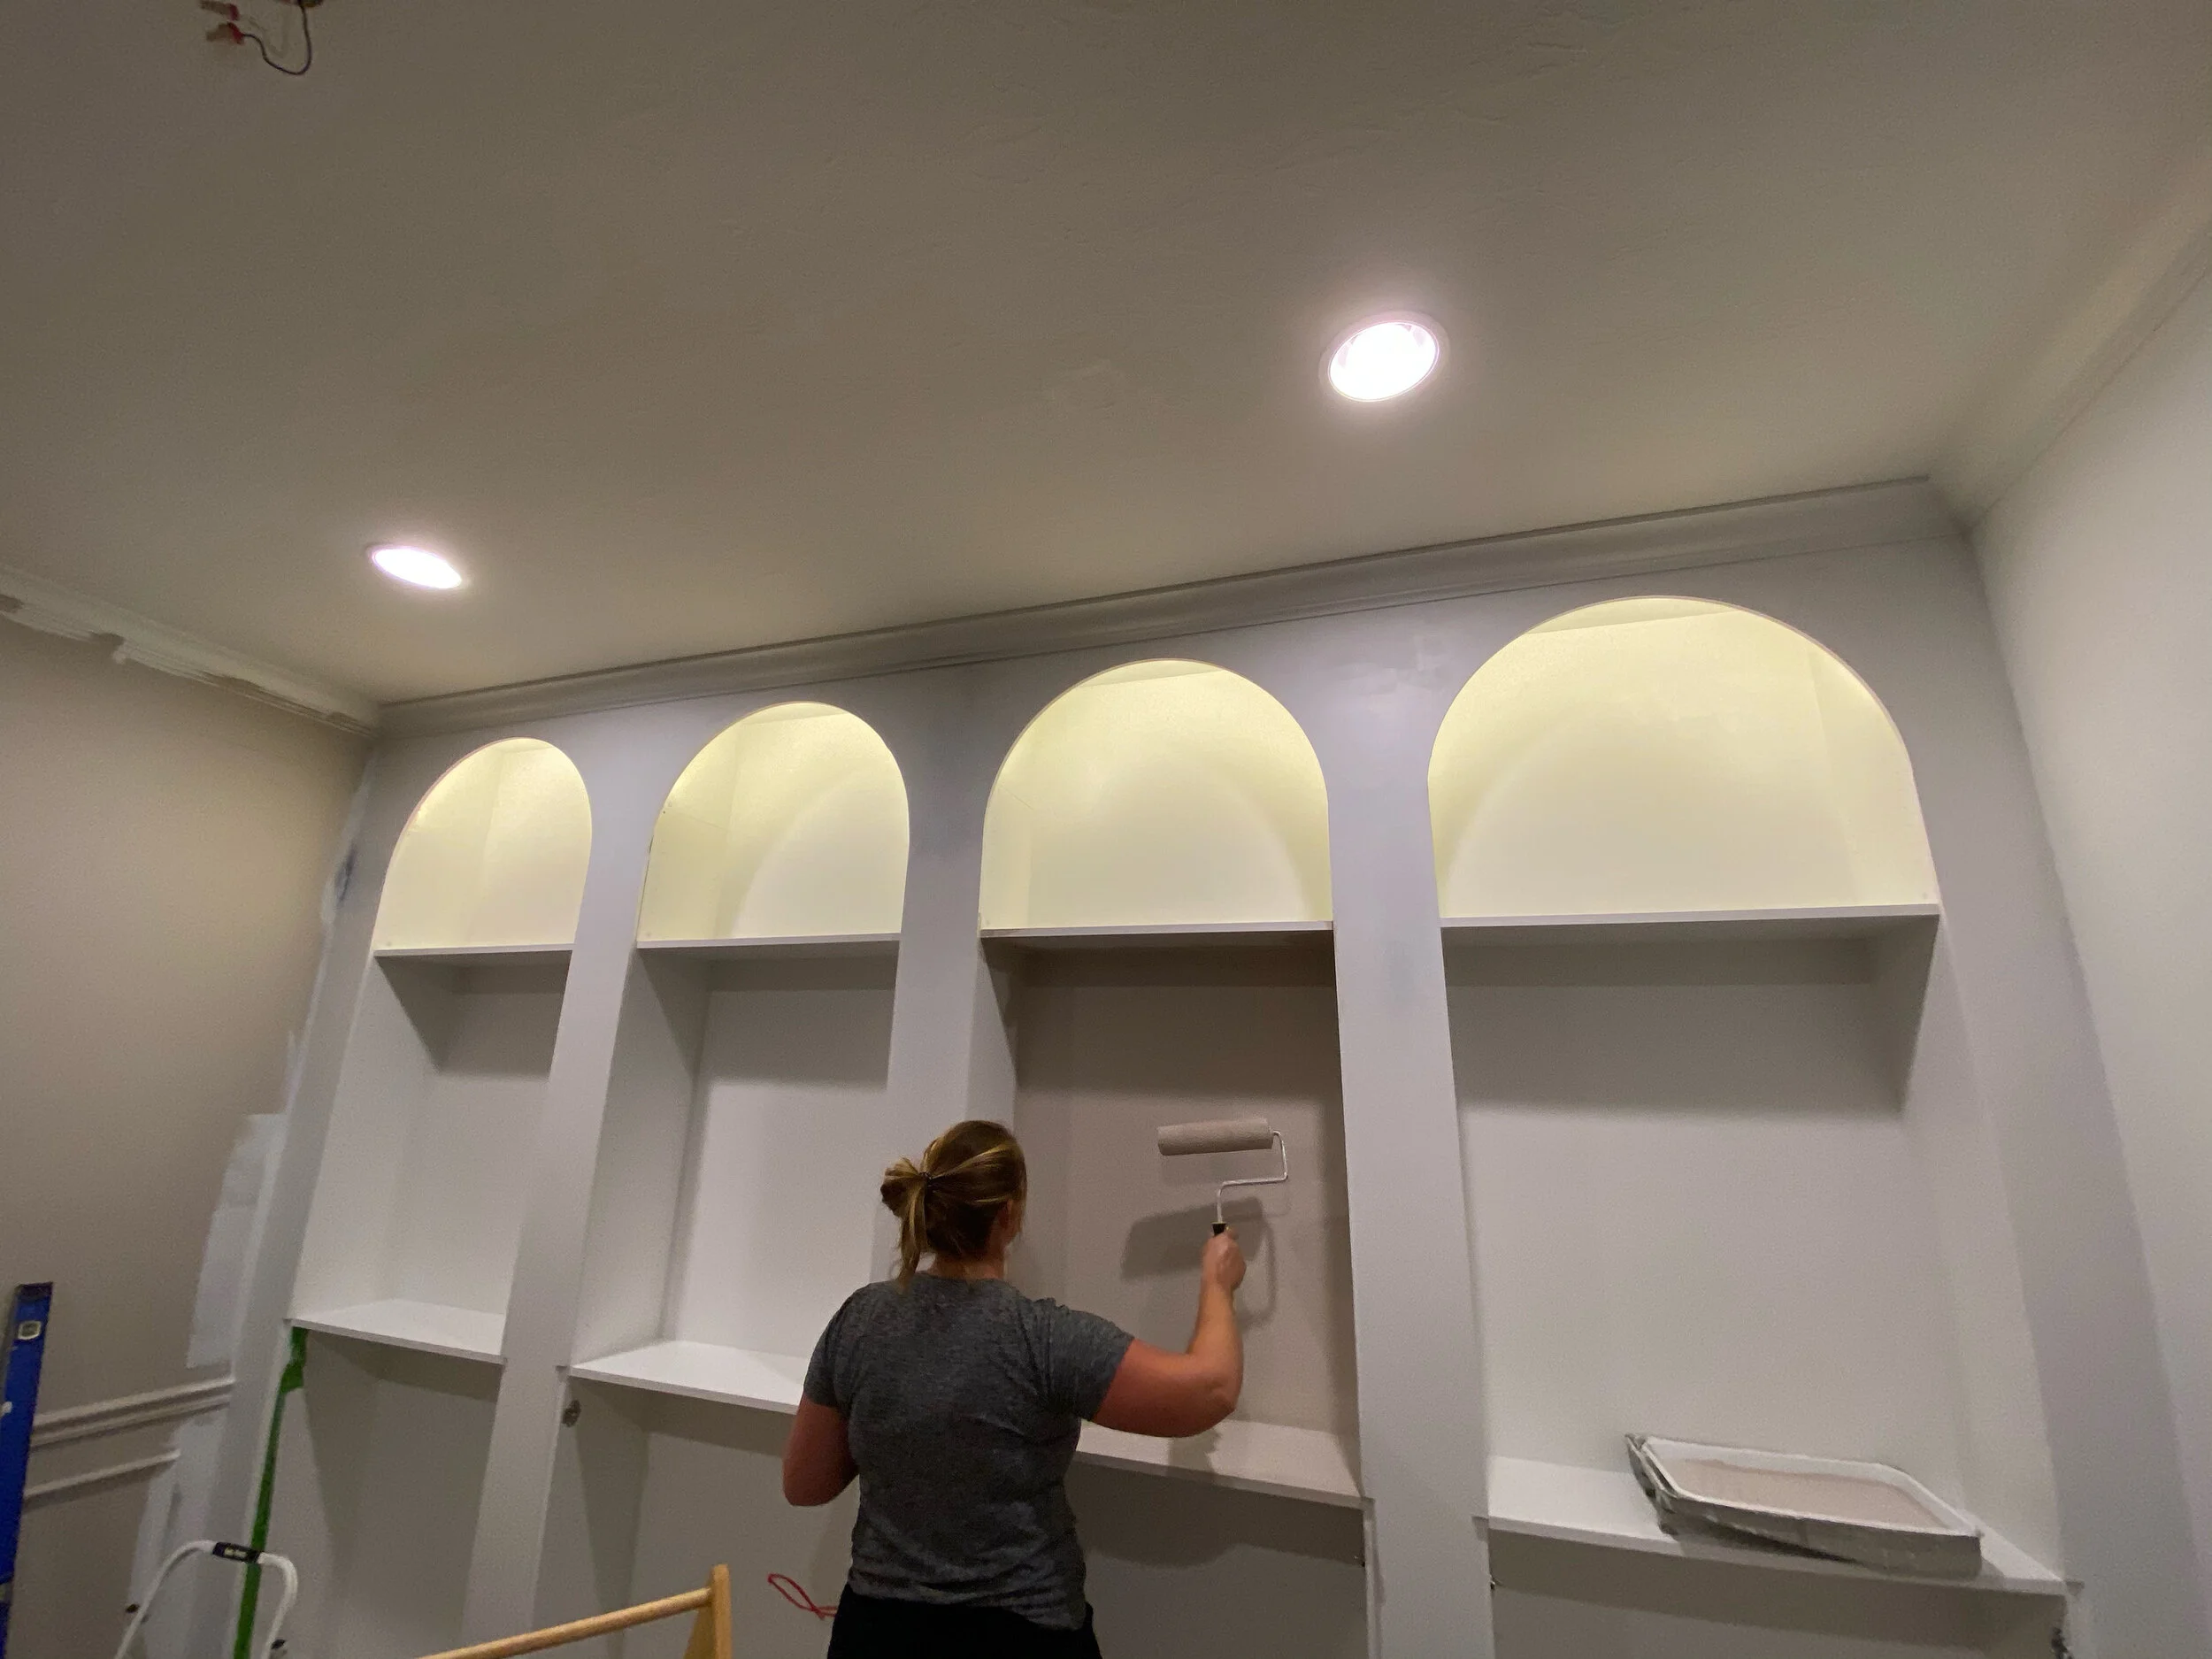
Step Five: Paint
I chose the color Cinnamon Sugar by Magnolia, and decided to try a full monochrome look for the first time. We painted the walls, trim, baseboards, - everything but the ceiling - in Cinnamon Sugar. This really made the IKEA bookcases look like they were true built-ins! We did some sanding on the bookcases before we painted, and a coat of B-I-N primer as well. Magnolia paint is great to work with; we had no issues with it adhering to the bookcases, and that was a big worry of mine. We also spray painted the old chandelier black, so it better matched the room.

Step Six: Styling
This is definitely my favorite part of any project! I purchased new chairs from target, my dream rug, and lots of new decor to fill the new shelves — the final step in making these built-ins officially part of our home.


Final Thoughts
It was really awesome to see this room come to life from a photoshop mockup. It took a lot more time and work than we ever anticipated, but the end result is just what I was hoping for. I hope this project inspires you to try something out of your comfort zone this year!
Shop the Post
