Posts in KIDS
Budget Kids Bathroom Reno

We did three big home projects in 2020: the backyard, the kids’ bathroom, and our front room. Today, nearly a year later, I’m finally revealing the kids’ bathroom project! I have such a hard time sitting down to write things out before we move onto the next project. Nevertheless, we finally had a sunny day and took photos of our finished project so that I could make this post!

This was a budget makeover for a builder-grade bathroom — everything was cosmetic, nothing structural — and we did it all ourselves! I was inspired by @jaci.daily on instagram for this one. I saw her mirrors and hexagon tile, and knew it was exactly what I wanted for our kids bathroom facelift. Since it is such a small space, I could really focus in on the details and use hexagons as a subtle theme throughout.

Before

before.jpg

After

after.jpg

For this budget bathroom update, we started with painting the cabinets Sherwin Williams Tricorn Black, and the walls Sherwin Williams Pure White. We did this project on such a whim that I didn’t even take a photo before we removed the old mirror and faucets!

This was a project of many firsts. Our first tile project, first flooring install, and first bit of plumbing for Garret. We used Calacatta Oro Hexagon Mosaic tile on the back wall, with a dark charcoal grout. Garret installed the new vinyl planks over our existing vinyl. The matte black faucets are super affordable, from Lowe’s.

IMG_9951.jpg
IMG_2542.jpg
IMG_0660.jpg

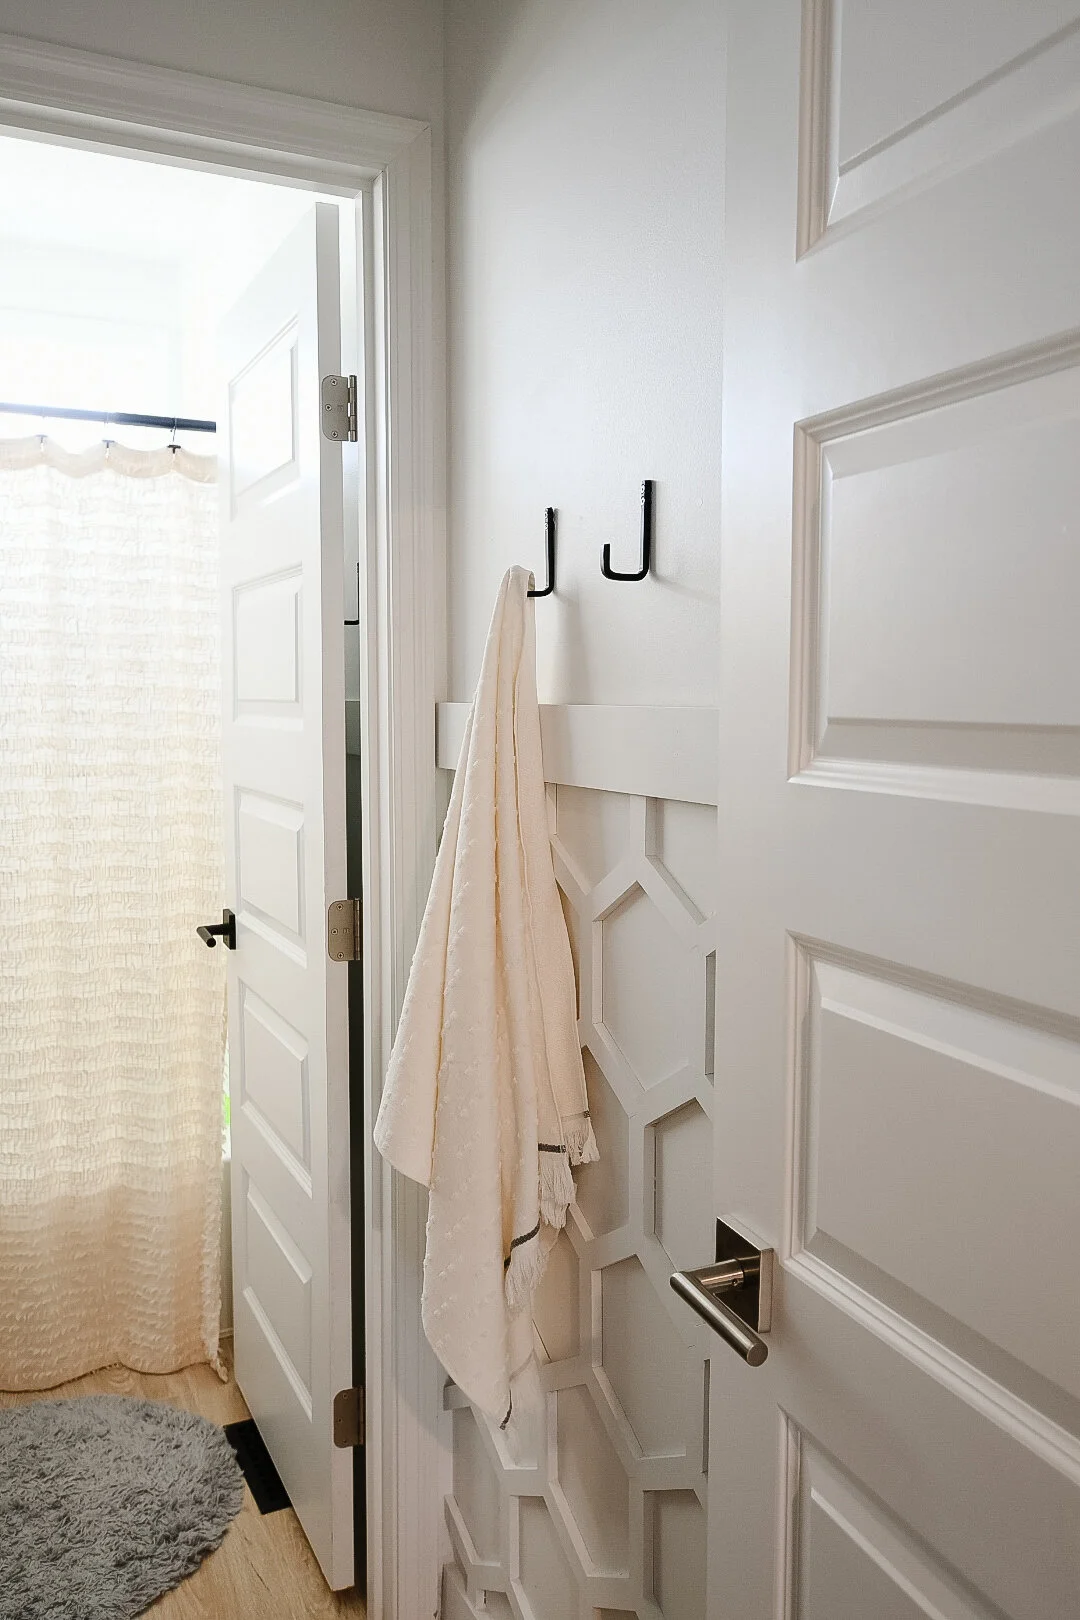
My favorite part of this bathroom is the wood hexagon accent wall. I had this idea in my head, made it with tape on the wall, and Garret brought it to life. He made a template and cut strips of pine to make the wood hexagons. Then he nailed them to the wall with a pin nailer, then spray painted everything Pure White. He’s amazing!

I just love all the details in this bathroom. We replaced the “boob light” with a gorgeous flush mount from PB Teen. I used the Hex cabinet hardware from CB2 on all the cabinets. I ordered a large hexagon mirror from Target online. I found hexagon stools for the kids at HomeGoods and spray painted them black. Everything just pulled together so nicely!

DSC_0869.jpg
DSC_0840.jpg
DSC_0898-Edit.jpg
DSC_0865.jpg
DSC_0834-Edit-2.jpg
DSC_0845.jpg

So there you have it! Our kids’ bathroom renovation is complete. I hope this inspires you to DIY something in your home this year! I’ll link everything I can in LTK below.

DIY Starbucks Halloween Costumes

Halloween is my favorite holiday! It’s just plain fun. Garret and I have the tradition of making our Halloween costumes every year, and this year, we were a Starbucks family! The girls were Starbucks Frappuccinos, and the guys were baristas. It turned out SO cute!! I’ll walk you through the DIY and everything you need below. With about an hour and a lot of hot glue, you can even make these Starbucks costumes last-minute on Halloween!


The supply list:

Note: We have a Silhouette Cameo machine and we used this to cut out the Starbucks logos. You can also do this with scissors or X-acto and patience!

Kids’ green apron
Kids’ plain black hat
Kids’ neutral shirt and pants
Tutu
Headband
Straw
Green vinyl
Green iron-on
White iron-on
White felt
Tulle
Iron
Hot glue gun
Sewing machine (optional)

starbucks-baby-costume.jpg
starbucks-costumes-kids.jpg

To make the Starbucks Barista costume:

  1. Cut the Starbucks text logo in white iron-on.

  2. Cut the circular Starbucks logo in green and white iron-on.

  3. Use your iron to transfer the logos to your hat and apron!

To make the Starbucks Frappuccino costume:

  1. Cut the circular Starbucks logo in green and white iron-on.

  2. Use your iron to transfer the logo to the neutral shirt.

  3. Wrap your silicone straw with green vinyl.

  4. Wrap your headband in tulle and secure with hot glue.

  5. Cut strips of white felt about 6” wide. Fold and bunch while running the center through your sewing machine. You can also bunch and use hot glue if you don’t have a sewing machine! I took a video of this part in action (linked here).

  6. Hot glue the end of a bunched felt strip to the straw. Wrap around the straw to make your whipped cream and hot glue to secure to the headband.

  7. Sew or hot glue bunched felt to the neck of the shirt.

  8. Hot glue strips of tulle to the felt to add more fluff. You can’t go wrong here!


And there you have it — DIY Starbucks Halloween Frappuccino and barista costumes! These costumes are quick and easy, great for all ages (even baby Celia!), and doable on Halloween day, if you’re in a pinch. Send us a message on Facebook or Instagram and let us know if you make a Starbucks costume for Halloween!